Prepping for an avalanche: Read the snow before you go
An avalanche is a large mass of snow moving fast down a mountain, at speeds of 60 to 80 miles per hour. In the United States, avalanches kill 25 to 30 people and injure many more each winter, according to avalanche.org. People caught in one can die from suffocation, injury or hypothermia, and someone buried under heavy snow may not be able to dig out alone.
Avalanches can be set off by people, new snow or wind. The peak season runs from December through March. The good news is that the danger can be read: forecasts, slope angles and warning signs all tell you when to turn back.
This guide uses FEMA’s hazard sheet Be Prepared for an Avalanche (P-2143, August 2024) and the current Ready.gov avalanche page.
Disclaimer: This is general safety information and does not replace avalanche training. Take a course from a qualified provider before traveling in avalanche terrain. In an emergency, call 911.
The Readiness Audit
- Green: You check the local avalanche forecast before every trip, carry a beacon, probe and shovel and have practiced rescue with your partner.
- Yellow: You ski or snowmobile near avalanche terrain but have never taken a course.
- Red: You go alone, or you think fresh powder on a steep slope is the best day of the year.
If you are Yellow or Red, start Phase 1.
Phase 1: Learn the Risk and Get Trained
Goal: Know when and where avalanches happen.
- Check the forecast. Sign up for alerts from a U.S. Forest Service Avalanche Center near you, and find current conditions at avalanche.org. Your community may also have a local warning system.
- Take a course. Learn to recognize hazardous conditions, avoid dangerous places and use rescue gear.
- Learn first aid for suffocation, hypothermia, injuries and shock.
- Go with a guide who knows the area and the places to avoid.
- Never go alone. Always travel with a buddy.
The Takeaway: The forecast and a course do more for your safety than any piece of gear.
Phase 2: Know the Warning Signs
Goal: Spot danger before you are in it.
- Recent avalanches in the area mean conditions are unstable.
- Shooting cracks running across the snow from your skis or sled are a sign of danger.
- Steep slopes. Ready.gov says avalanches typically happen on slopes of 30 to 45 degrees. Avoid slopes steeper than 30 degrees and the areas below them when the danger is high.
- New snow and wind can load slopes quickly.
- Road warnings. Follow avalanche warnings on roads. Roads may close, or drivers may be told not to stop on the roadside.
Caution: The area under a steep slope is part of the danger zone, even if the ground where you stand is flat.
The Takeaway: Recent slides, cracking snow and slopes over 30 degrees mean turn around.
Phase 3: Carry the Right Gear
Goal: Give yourself and your partners a chance if the worst happens.
| Gear | Why it matters |
|---|---|
| Avalanche beacon | Helps others find you, and lets you find a buried partner. |
| Collapsible probe | Pinpoints a buried person. |
| Small shovel | Digs them out. |
| Helmet | Reduces head injuries. |
| Avalanche airbag | May help keep you from being completely buried and create space to breathe. |
Gear only helps if you know how to use it. Practice with your partners before the season.
The Takeaway: Beacon, probe and shovel for everyone, every trip.
Phase 4: If Someone Is Buried
Goal: Act fast, because time matters for a buried person.
- Call 911.
- Begin searching if it is safe to do so, using your beacon, probe and shovel.
- Treat the person for suffocation, hypothermia, injuries or shock once they are free.
The Takeaway: Call for help, then search right away if it is safe.
Phase 5: Treat Hypothermia
Goal: Recognize and treat dangerously low body temperature.
A body temperature below 95 degrees is an emergency.
- Signs: Shivering, exhaustion, confusion, fumbling hands, memory loss, slurred speech and drowsiness.
- Actions: Get to a warm room or shelter. Warm the center of the body first: chest, neck, head and groin. Keep the person dry and wrapped in warm blankets, including the head and neck.
The Takeaway: Warm the core first, and keep the person dry.
The Essential Kit Checklist
- Forecast: Your local avalanche center’s forecast checked the morning of the trip.
- Training: An avalanche course completed, with rescue practice.
- Rescue gear: Beacon, probe and shovel for each person.
- Protection: Helmet, and an airbag pack if you have one.
- Partner: Never alone, and someone at home knows your route and return time.
Scenario Planner (Contingencies)
The trap: The group skips the forecast because the snow looks perfect. The fix: Check the avalanche center forecast every time. Fresh snow and wind are exactly when slopes are most likely to slide.
The trap: Your partner is buried and you head off to find a phone signal. The fix: Call 911 if you can, then start searching right away if it is safe. Your beacon, probe and shovel are their best chance.
Frequently Asked Questions
How many people die in avalanches each year in the US?
Avalanche.org says avalanches kill 25 to 30 people and injure many more each winter in the United States. FEMA puts the average at 28 deaths a winter.
What slopes are most likely to avalanche?
Ready.gov says avalanches typically happen on slopes of 30 to 45 degrees. Avoid slopes steeper than 30 degrees and the areas below them when the danger is high.
What gear do I need for avalanche terrain?
Carry an avalanche beacon, a collapsible probe and a small shovel, and wear a helmet. An avalanche airbag can help keep you from being completely buried. Learn to use them before you go.
Next Steps
- Find your nearest avalanche center at avalanche.org and sign up for its forecasts.
- Book an avalanche course before your next backcountry trip.
- Read our blizzard guide for cold weather preparedness.
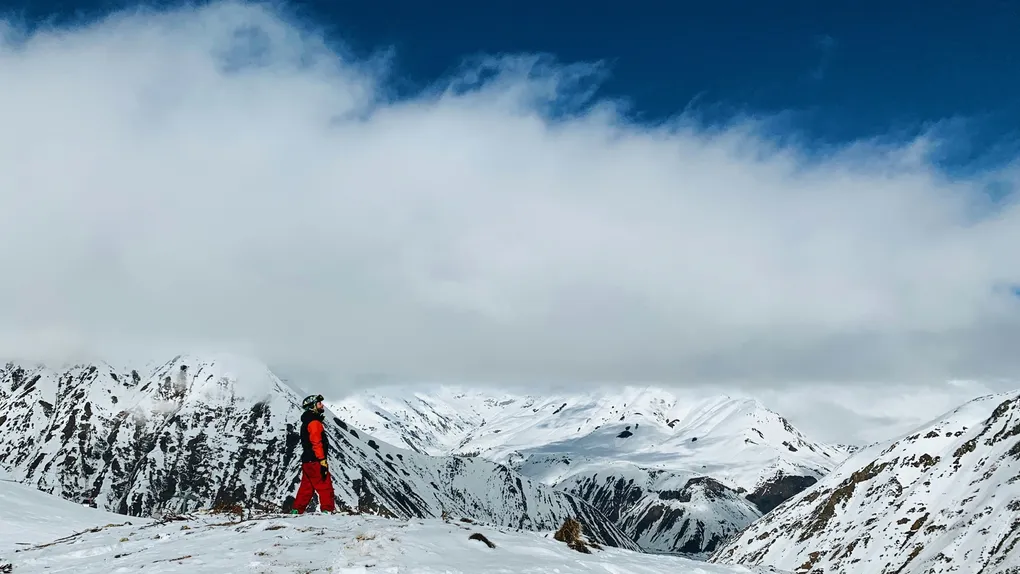
Hero photo by Max Kukurudziak on Unsplash.
Adapted from Federal Emergency Management Agency, Be Prepared for Any Hazard, FEMA P-2143 hazard information sheets (public domain). Read the original: Be Prepared for Any Hazard.